# Lottery Phase VII
# Implement ToolBar
- Open
Toolbar.vuefile under bar in VSCode and Add code for toolbar from vuetify.
<template>
  <v-toolbar
    color="success lighten"
    dark
    app
    :clipped-left="$vuetify.breakpoint.mdAndUp"
    fixed>
    <v-toolbar-title
      style="width: 300px"
      class="ml-0 pl-3 ">
      <span class="hidden-sm-and-down text-uppercase ">
        <router-link
          :to="{name : 'LotteryList'}"
          style="text-decoration:none; color:white;">Lottery</router-link>
      </span>
    </v-toolbar-title>
  </v-toolbar>
</template>

<script lang="ts">
import { Vue, Component, Prop, Emit, Watch } from 'vue-property-decorator';
// import store, * as Store from '@/../src-gen/store';
// import * as Data from '@/../src-gen/data';
// import * as ServerData from '@/../src-gen/server-data';
// import * as Action from '@/../src-gen/action';

@Component
export default class Toolbar extends Vue {
}
</script>
TIP
The Name in the toolbar is made a link to lotterylist page and styled using <router-link>
- Open browser http://localhost:8080/library
You should see the toolbar and counterpage.
# Create Lottery Page
- Open eclipse, in
lottoview.kviewcreate ads (action, data, store) under the section by writingads Lotto.
section lottoview {
  ads Lotto
}
Refresh the project in eclipse to see the .kviewads file.
Open
lottoview.kviewadsfile and define action and input data for createlottery Api and Add SmileForm decorator for the data.
data CreateLotteryForm(core.SmileForm)(lotteryName:string(),amount:number({"validate" :"verify_amount"}))
action [LotteryPlay:W:Lottery.createlottery] Createlottery {
    input(CreateLotteryForm)
}
- Open
validator.tsin VScode and implement 'verifyAmount' method (to verify that the amount is greater than 0) and call the method in setup.
import VeeValidate from 'vee-validate';

export default class Validator {

  public static setup() {
    this.verifyPassword();
    this.verifyAmount();
  }

  private static verifyPassword() {

    VeeValidate.Validator.extend('verify_password', {
      getMessage: (field: any) => 'The password must contain at least: 1 uppercase letter, 1 lowercase letter, 1 number, and one special character (E.g. , . _ & ? etc)',
      validate: (value: string): boolean => {
        const strongRegex = new RegExp('^(?=.[a-z])(?=.[A-Z])(?=.[0-9])(?=.{8,})');
        return strongRegex.test(value);
      }
    });
  }
  private static verifyAmount() {

    VeeValidate.Validator.extend('verify_amount', {
      getMessage: (field: any) => 'The amount should be greater than 0.',
      validate: (value: number): boolean => {
        return value > 0;
    }
    });
  }

  // add more validators ... and call them in setup as shown above

}
- Open
CreateLottery.vuein VSCode and import the data , smileForm and add Smileform in components and define the CreateLotteryForm Data.
import { Vue, Component, Prop, Emit, Watch } from 'vue-property-decorator';
// import store, * as Store from '@/../src-gen/store';
import * as Data from '@/../src-gen/data';
// import * as ServerData from '@/../src-gen/server-data';
// import * as Action from '@/../src-gen/action';
import SmileForm from '@/section/core/components/smile/SmileForm.vue';

@Component({
  components: { SmileForm }
})
export default class CreateLottery extends Vue {
 private CreateLotteryForm = new Data.Lotto.CreateLotteryForm();

}
- Write a decorator for the SmileForm.
export default class CreateLottery extends Vue {
 private CreateLotteryForm = new Data.Lotto.CreateLotteryForm();
 private decorator = Data.Lotto.CreateLotteryForm.toSmileFormDecorator();

}
- In
CreateLottery.vueadda SmileForm in the template.
<template>
  <v-layout>
    <v-flex>
      <v-card>
        <SmileForm
          v-model='CreateLotteryForm'
          :decorator='decorator'
          title='Create Lottery'
          submit-text='CREATE'
        ></SmileForm>
      </v-card>
    </v-flex>
  </v-layout>
</template>
- Define the createLottery method .
private createLottery() {
    console.log('I am in AddBook');
    Action.Lotto.Createlottery.execute(this.CreateLotteryForm,
    output => {this.$router.push({
        name: 'Details.Summary',
        params: { lotteryName: this.CreateLotteryForm.lotteryName }
      });

  });
}
TIP
Uncomment import statement for Action.
TIP
The $router.push redirects the page to specified page.
- Call the method in SmileForm using
@submit
        <SmileForm
          v-model='CreateLotteryForm'
          :decorator='decorator'
          title='Create Lottery'
          submit-text='CREATE'
          @submit='createLottery'
        ></SmileForm>
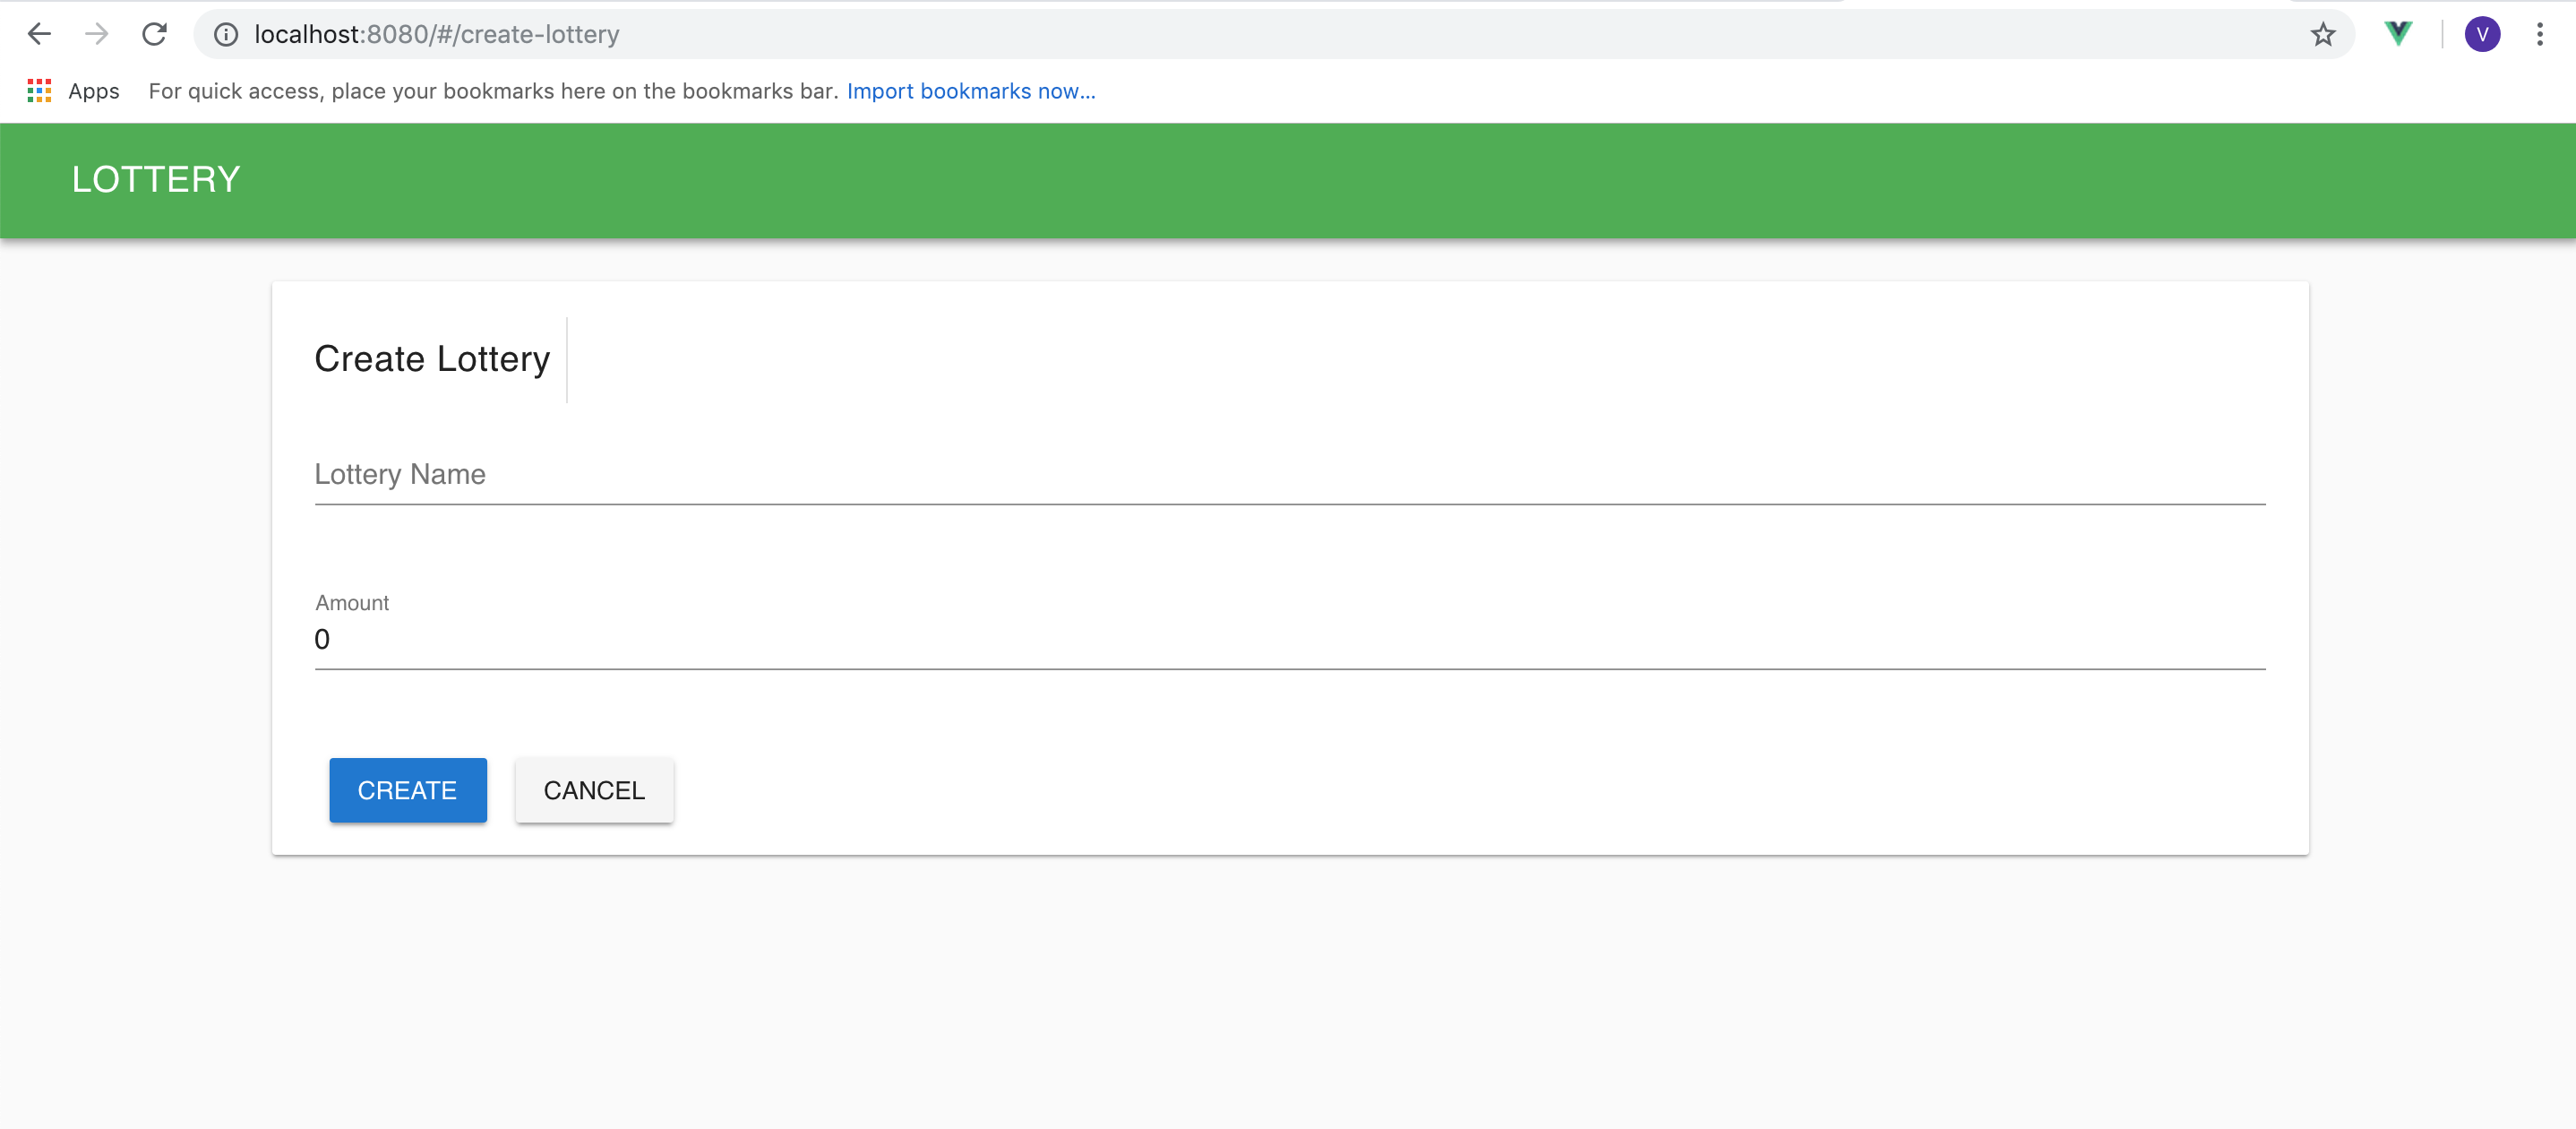
- Open browser http://localhost:8080/add You should be able to see AddForm page.
- After creating, you should be directed to details page, with the lottery name in the url.
# Lottery List Page
- Open
lottoview.kviewadsfile and define action and input data for SearchBook Api and Add SmileGrid decorator for the data. And for lotteryName add a smile grid decorator "link" that links to the Summary page..
data  LotteryGrid(core.SmileGrid)(lotteryName:string({"link":":lotteryName/details"}),amount:number({align_center}),
participantList:string*({align_center}),winner:string?({align_center}),status:string({align_center}))
action [LotteryPlay:R:Lottery.lotteryList] LotteryList {
  output(LotteryGrid*)
}
TIP
align_center will align the data to center in the field and
link converts the text in to a link with given path.
- Open
LotteryList.vuein VSCode and import the data, SmileGrid and define Data and write action for LotteryList inside getLotteryList method.
<script lang="ts">

import { Vue, Component, Prop, Emit, Watch } from 'vue-property-decorator';
// import store, * as Store from '@/../src-gen/store';
import * as Data from '@/../src-gen/data';
// import * as ServerData from '@/../src-gen/server-data';
import * as Action from '@/../src-gen/action';
import SmileGrid from '@/section/core/components/smile/SmileGrid.vue';


@Component({
components: {SmileGrid}
})

export default class LotteryList extends Vue {

private lotteryList: Data.Lotto.LotteryGrid[] = [];
private gridDecorator = Data.Lotto.LotteryGrid.toSmileGridDecorator();

private mounted() {
  this.getLotteryList();
}
private getLotteryList() {
  Action.Lotto.LotteryList.execute(output => {
    this.lotteryList = output;
  });
}
}

</script>
TIP
The mounted method is executed when the page is loaded.
- Write SmileGrid in template.
<template>
<v-layout>
    <v-flex>
      <v-card>
        <SmileGrid
          grid-title='Lottery List'
          :items="lotteryList"
          :decorator="gridDecorator"
          submit-text="Create New Lottery"
          @submit="$router.push('CreateLottery')"
        ></SmileGrid>
      </v-card>
    </v-flex>
  </v-layout>
</template>
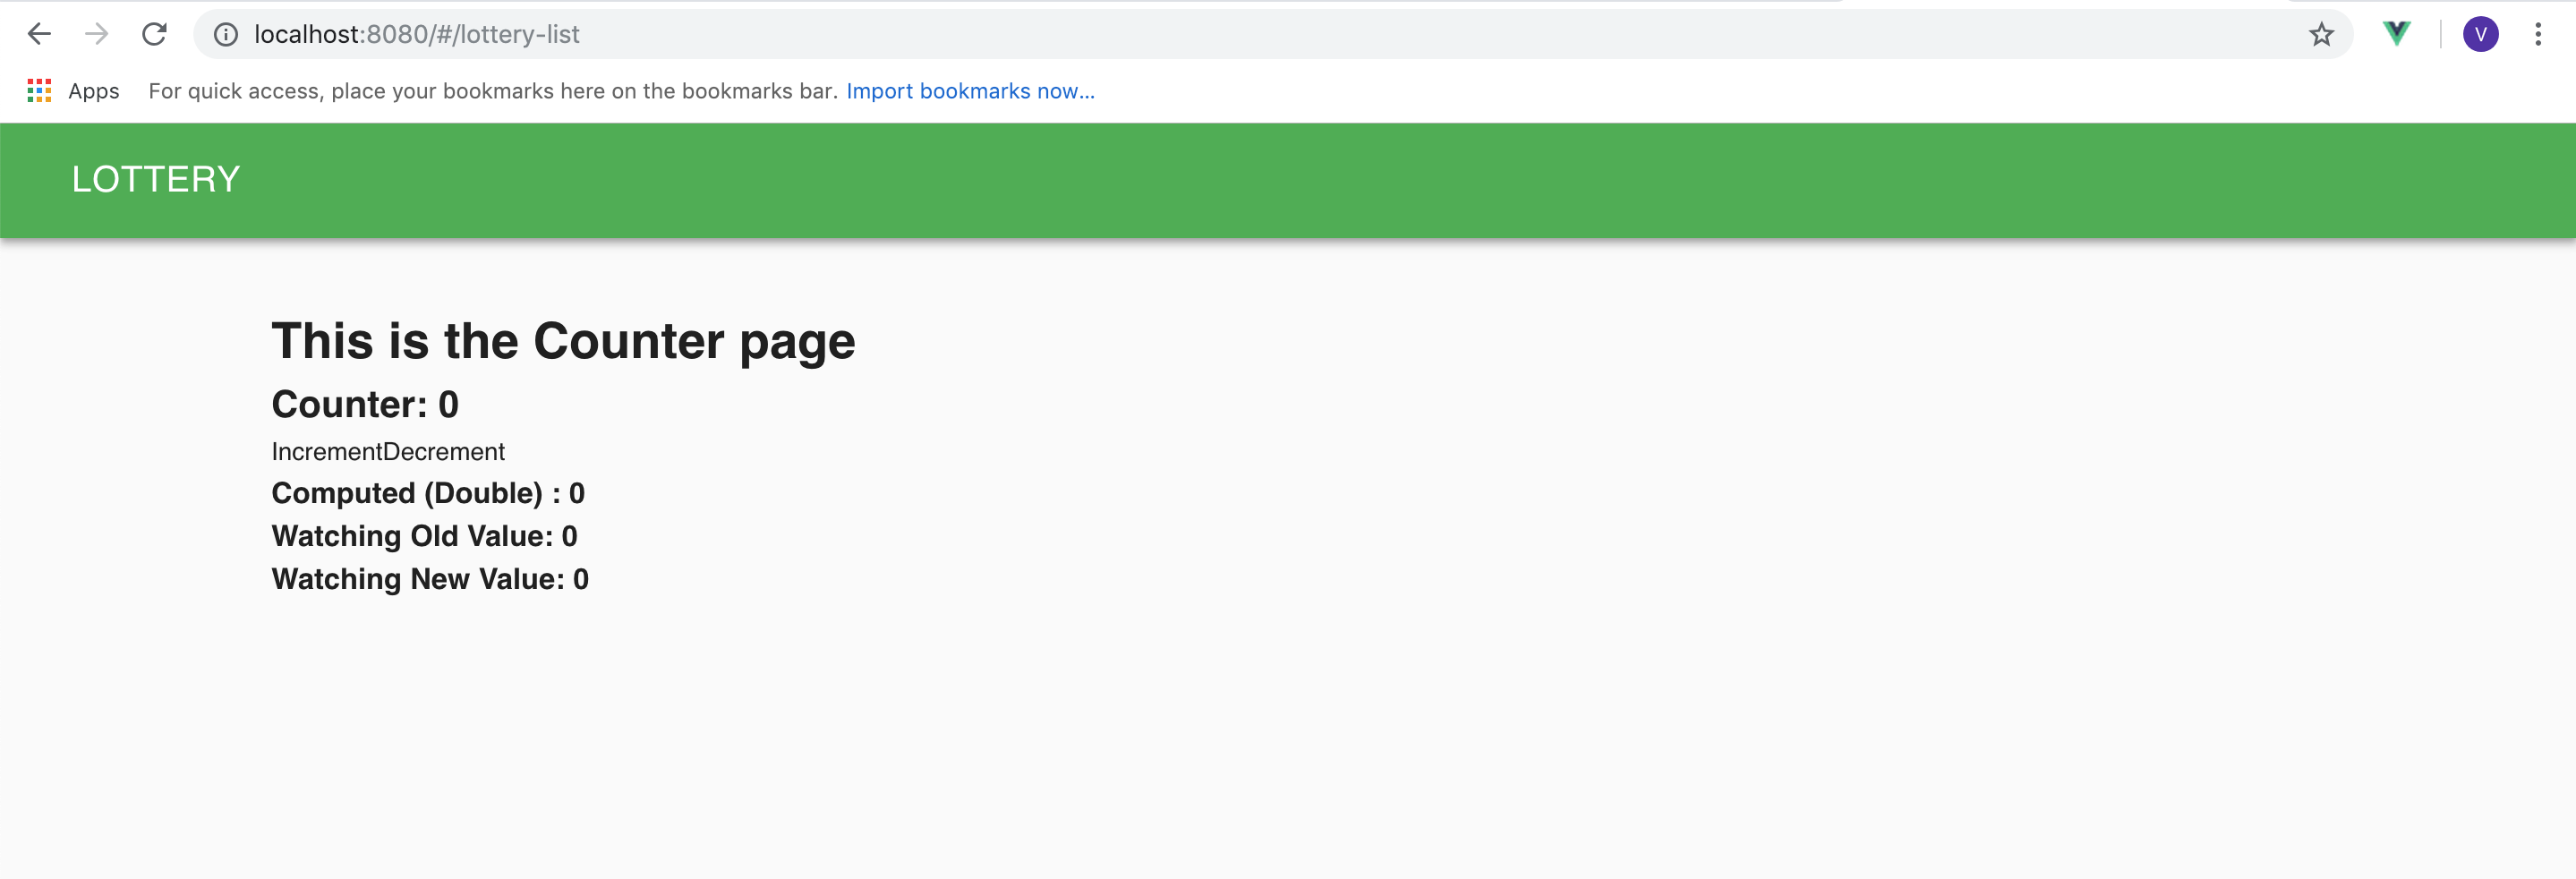
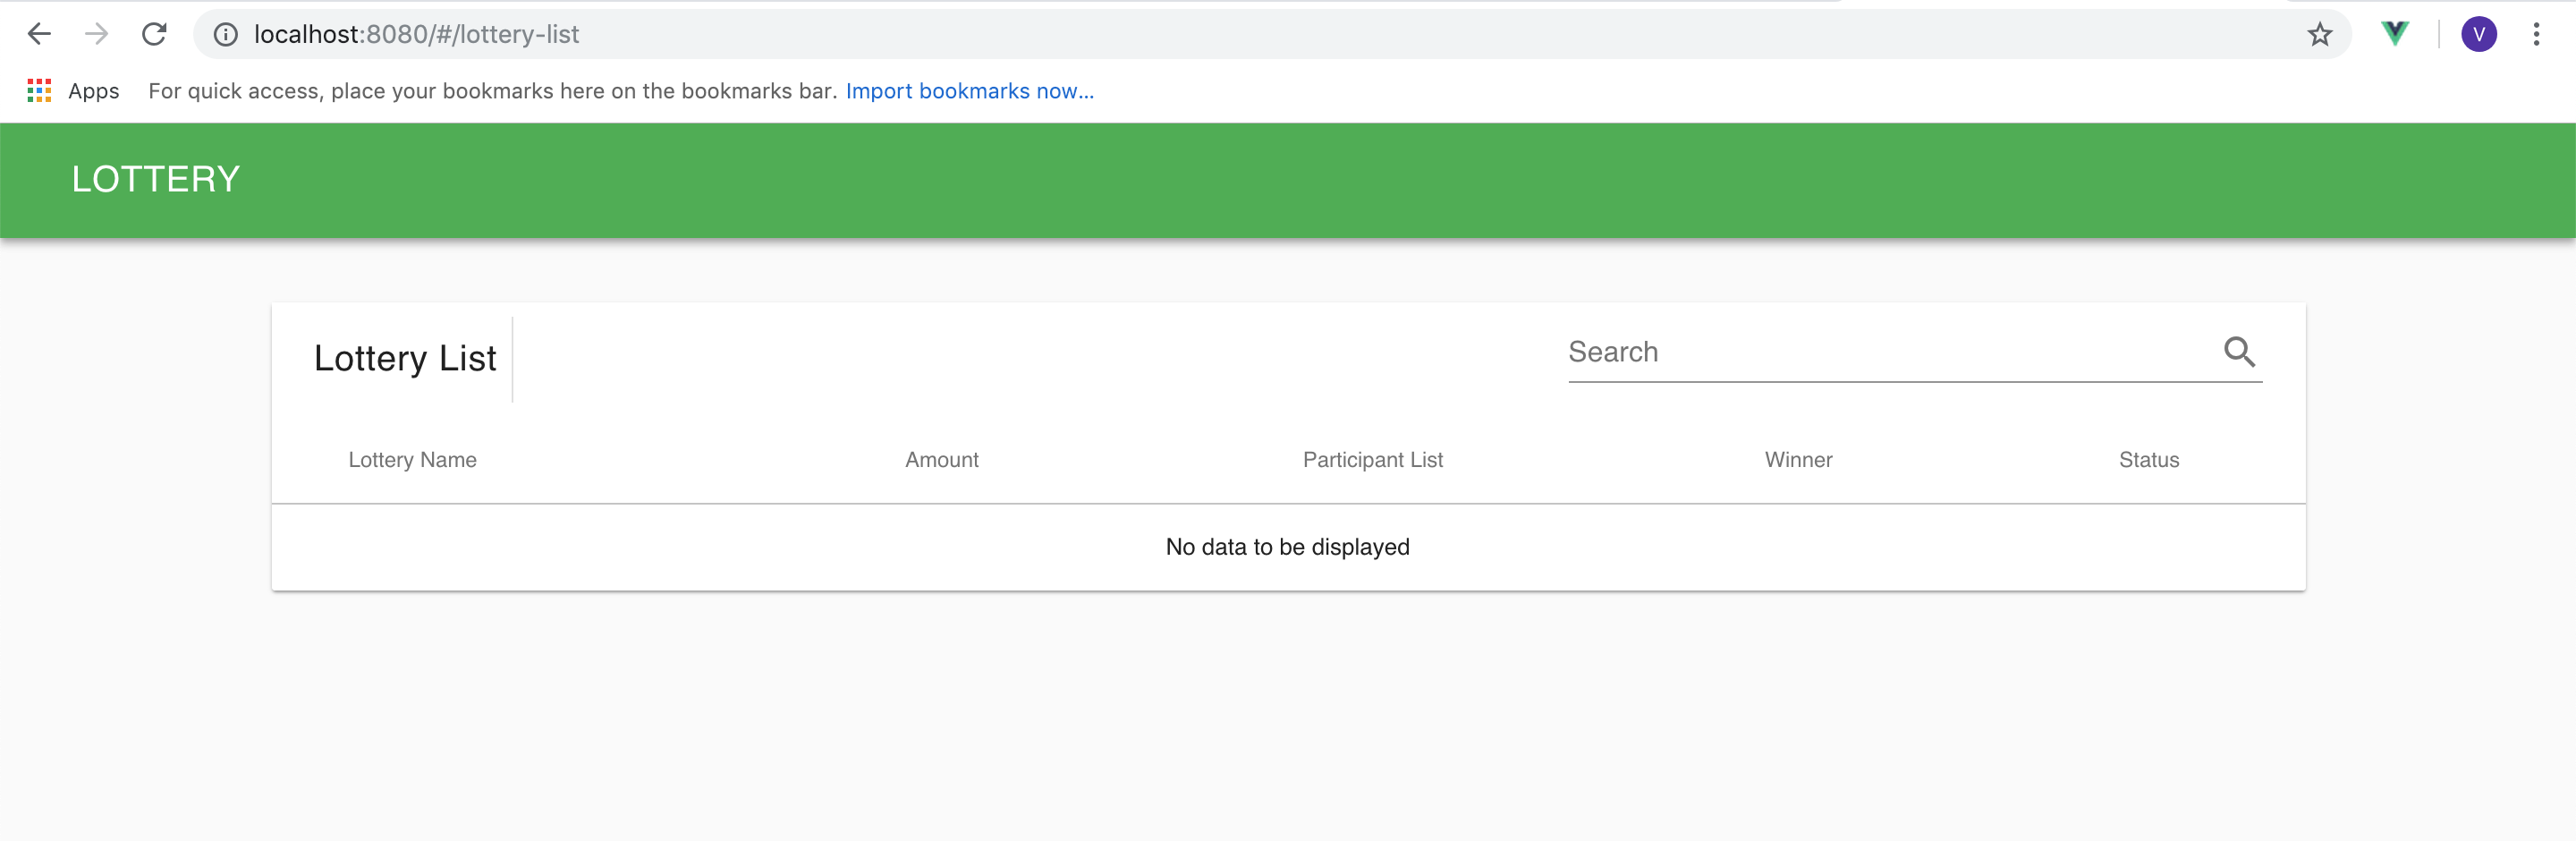
- Open browser http://localhost:8080/#/lottery-list You should be able to see the Lottery List.
- Write a template inside SmileGrid in
LotteryList.vuewhich has a button that will take us to CreateLottery page.
  <SmileGrid
          grid-title='Lottery List'
          :items="lotteryList"
          :decorator="gridDecorator"
          submit-text="Create New Lottery"
          @submit="$router.push('CreateLottery')">
         <template slot="toolbar">
         <v-btn color="primary darken-1" style="text-transform:none" flat @click.native="$router.push({ name: 'CreateLottery'})">
         CreateNew
         </v-btn>
      </template></SmileGrid>
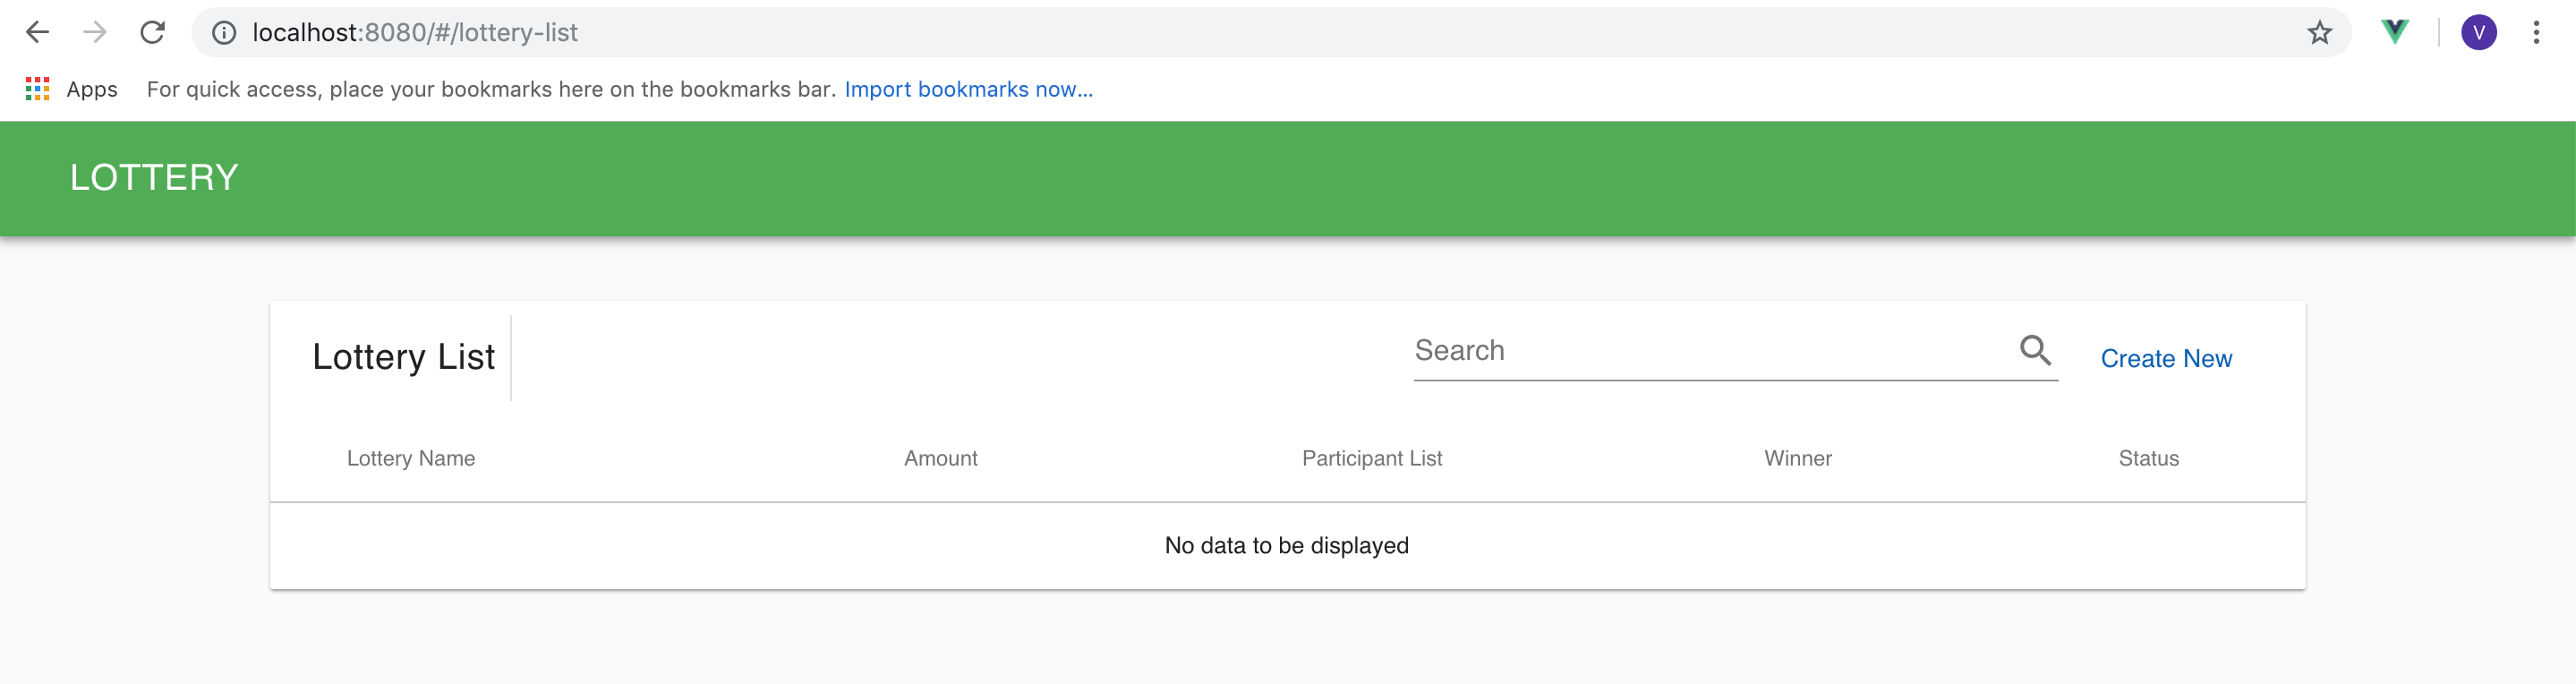
- "Create New" button should redirect to CreateLottery page when clicked.
# Summary Page
- Open
Lotto.kviewadsin eclipse and define data action for lotteryDetails.
data LotteryDetails(lotteryName:string,amount:number,participantList:string*,winner:string?,status:string)
action [LotteryPlay:R:Lottery.lotteryDetails] LotteryDetails {
  output(LotteryDetails)
}
- Open
Details.vuein VSCode. Import Data and define data for LotteryDetails.
private lotteryDetails = new Data.Lotto.LotteryDetails();
- Import Action and Define the function getLotteryDetails with LotteryDetails action and call it inside mounted in
Details.vuepage.
  private mounted() {
    this.getLotteryDetails();
  }

  private getLotteryDetails() {
    Action.Lotto.LotteryDetails.execute1(
      this.$route.params.lotteryName,
      output => {
        this.lotteryDetails = output;
      }
    );
  }
- Open
Lotto.kviewadsin eclipse and define an action for run.
action [LotteryPlay:W:Lottery.run] Run
- Define runLottery method in script in
Details.vue.
  private runLottery() {
    Action.Lotto.Run.execute1(this.$route.params.lotteryName, output => {
      this.getLotteryDetails();
    });
  }
- Write the code to display details in template in
Details.vuepage.
    <v-layout
    column
    justify-center
  >
    <v-flex>
      <v-expansion-panel
        :value="panel"
        expand
      >
        <v-expansion-panel-content
          hide-actions
          readonly
        >
          <v-layout
            slot="header"
            align-center
            row
            spacer
          >
            <v-flex
              xs4
              sm2
              md1
            >
              <v-avatar
                slot="activator"
                size="36px"
              >
                <v-icon color="amber darken-1">local_play</v-icon>
              </v-avatar>
            </v-flex>

            <v-flex
              sm5
              md3
              hidden-xs-only
            >
              <strong v-html="lotteryDetails.lotteryName"></strong>
            </v-flex>
            <v-flex
              no-wrap
              xs5
              sm3
            >
              Amount: <strong v-html="lotteryDetails.amount "></strong>

            </v-flex>

            <v-flex
              no-wrap
              xs5
              sm3
            >
              <v-chip
                v-if="lotteryDetails.status === 'OPEN' "
                color="green lighten-4"
                class="ml-0"
                label
                small
              >
                OPEN
              </v-chip>
              <v-chip
                v-if="lotteryDetails.status === 'CLOSED'"
                color="red lighten-4"
                class="ml-0"
                label
                small
              >
                CLOSED
              </v-chip>
            </v-flex>

            <v-flex
              v-if="lotteryDetails.winner"
              ellipsis
              hidden-sm-and-down
            >
              <strong>Winner: </strong>
              <strong v-html="lotteryDetails.winner"></strong>
            </v-flex>
          </v-layout>

          <v-card>
            <v-divider></v-divider>
            <v-card-text>
              <span
                class="text-xs-center"
                v-for="(participant, index) in lotteryDetails.participantList"
                :key="index"
              >
                <v-chip>{{participant}}</v-chip>

              </span>
            </v-card-text>

            <v-card-actions>
              <v-btn
                flat
                @click="$router.push({name : 'Details.AddParticipant', params : $route.params})"
                v-if="lotteryDetails.status==='OPEN'"
              >Add Participant</v-btn>
              <v-spacer></v-spacer>
              <v-dialog
                v-model="dialog"
                width="500"
                v-if="lotteryDetails.status=== 'OPEN'&lotteryDetails.participantList.length >= 2"

              >
                <v-btn
                  slot="activator"
                  color="red lighten-2"
                  dark
                >
                  RUN
                </v-btn>
                <v-card>
                  <v-card-title
                    class="headline grey lighten-2"
                    primary-title
                  >
                    Do you want to Run?
                  </v-card-title>

                  <v-divider></v-divider>

                  <v-card-actions>
                    <v-spacer></v-spacer>
                    <v-btn
                      color="green darken-1"
                      flat="flat"
                      @click="dialog = false"
                    >
                      Cancel
                    </v-btn>

                    <v-btn
                      color="green darken-1"
                      flat="flat"
                      @click="runLottery"
                    >
                      Yes
                    </v-btn>

                  </v-card-actions>
                </v-card>
              </v-dialog>
              <span v-if="lotteryDetails.participantList.length < 2">Atleast 2 participants required to Run.  </span>
            </v-card-actions>
          </v-card>
        </v-expansion-panel-content>
      </v-expansion-panel>
    </v-flex>
  </v-layout>
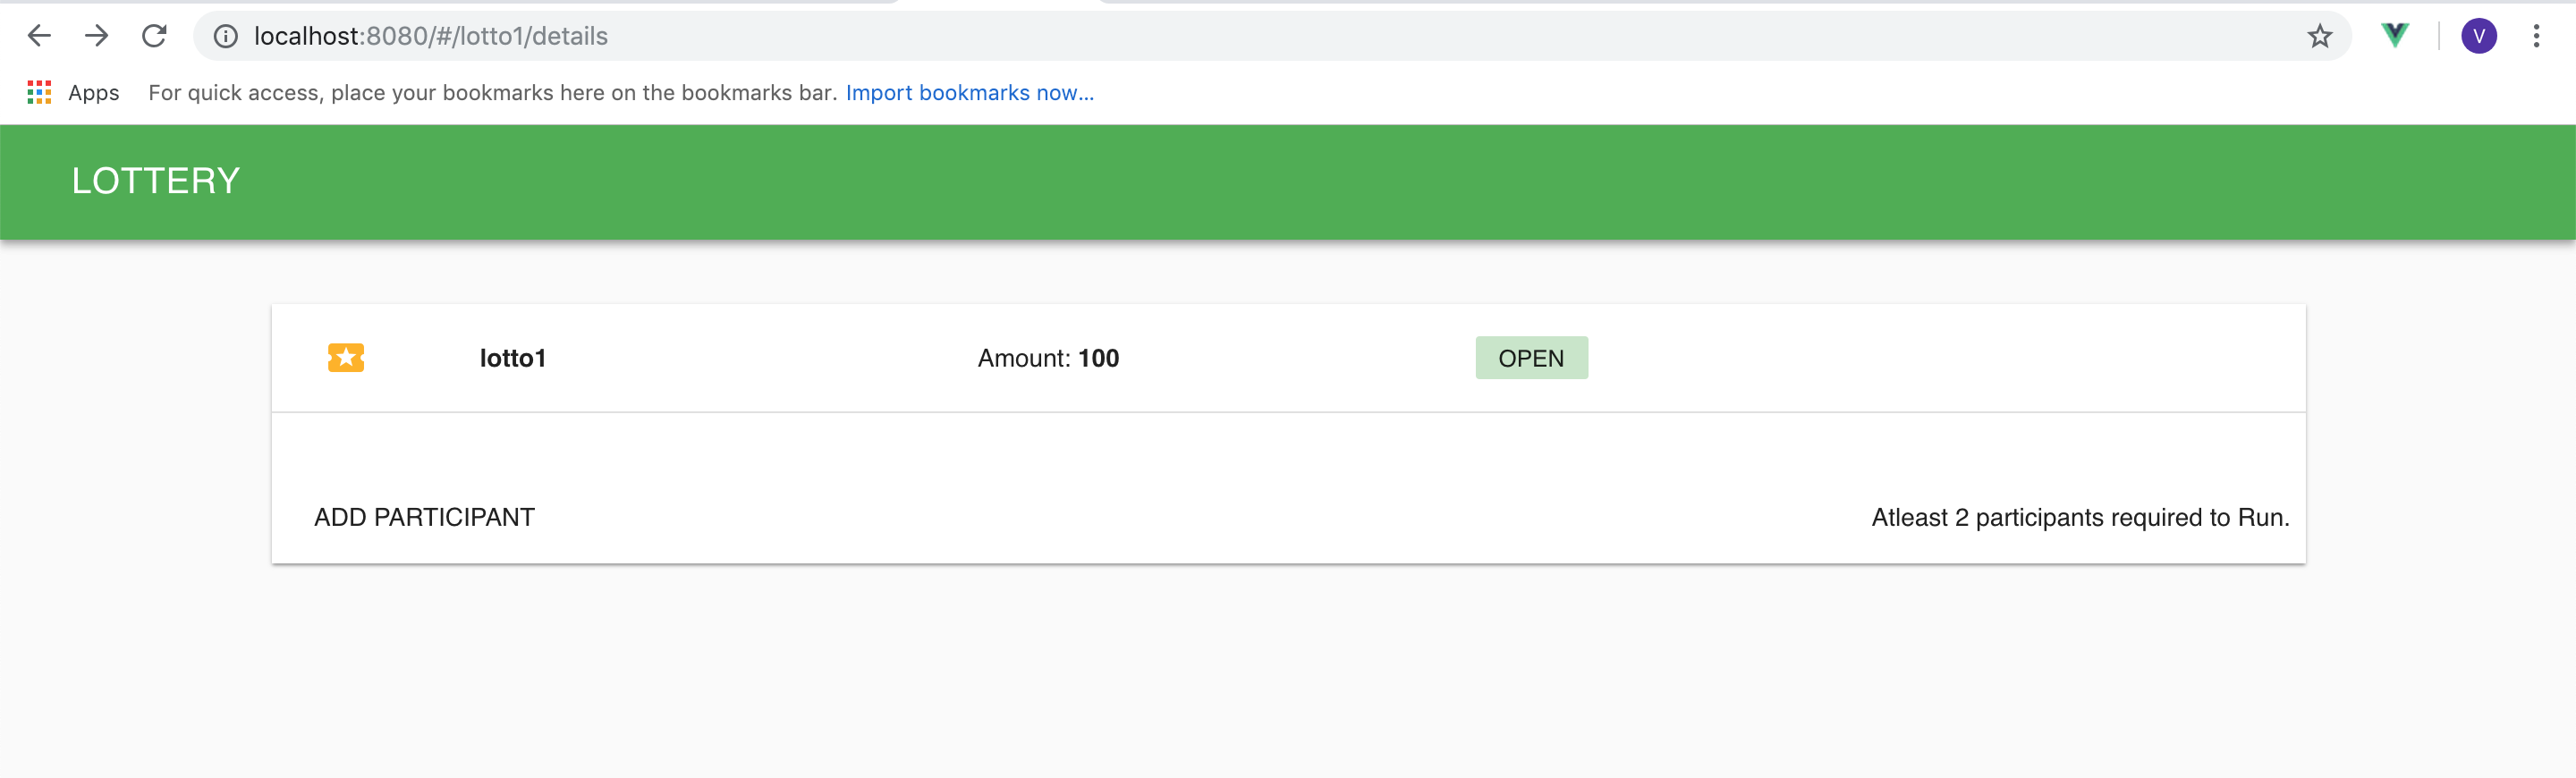
Here we have two buttons. One for adding a participant and other to run the lottery. "Add Participant" button will take us to AddParticipant page and "RUN" button will call the runLottery method.
TIP
Refer vuetify Avatar for the template design and vuetify Dialog for the button design with dialogs.
- Define variables required for the template (dialog and panel) in script and toggle dialog variable in runLottery method.
private lotteryDetails = new Data.Lotto.LotteryDetails();
private dialog = false;
private panel = [true];
private mounted() {
this.getLotteryDetails();
}
private getLotteryDetails() {
Action.Lotto.LotteryDetails.execute1(
this.$route.params.lotteryName,
output => {
this.lotteryDetails = output;
}
);
}
private runLottery() {
Action.Lotto.Run.execute1(this.$route.params.lotteryName, output => {
this.getLotteryDetails();
});
this.dialog = false;
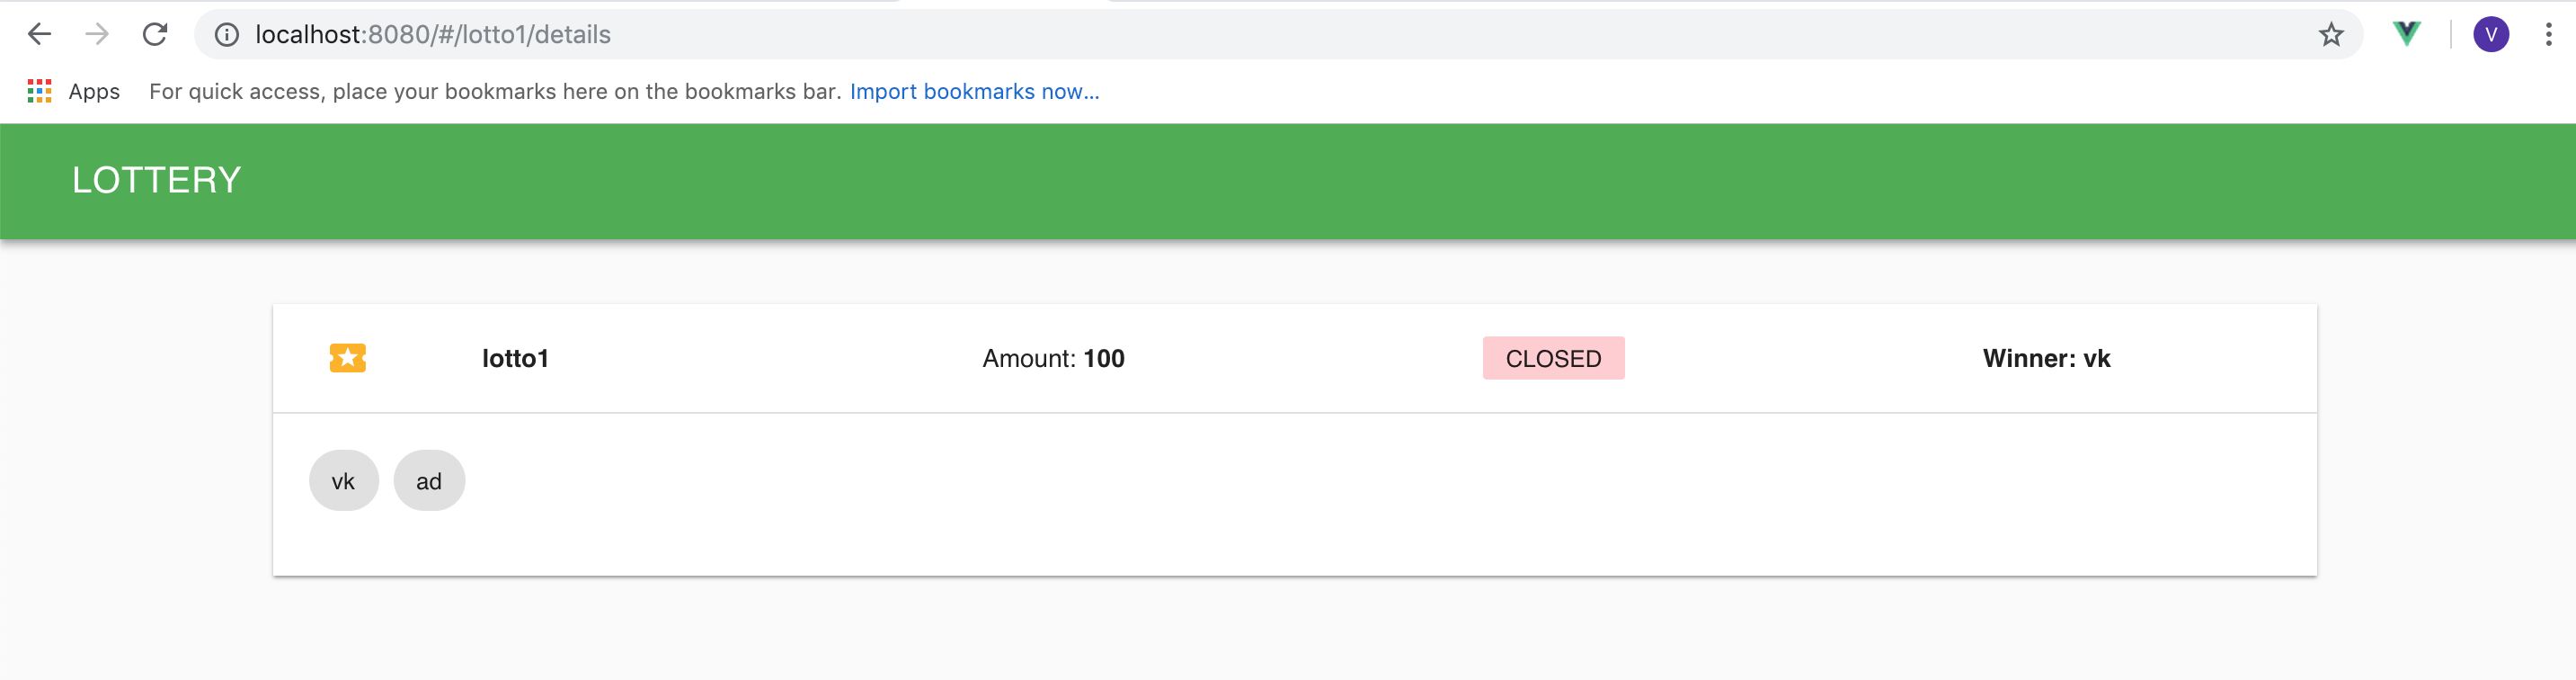
}
- Open browser http://localhost:8080/#/lotto1/details to see the details page.
# Add Participant Page
- Open
Lotto.kviewadsin eclipse and define a AddParticipant Action.
data AddParticipantForm(core.SmileForm)(lotteryName:string,participantName:string(),email:string({"validate" :"email"}))
action [LotteryPlay:W:Lottery.addParticipant] AddParticipant{
  input(AddParticipantForm)
}
- Open
AddParticipant.vuein VSCode and define addParticipantForm data and addParticipant method which has AddParticipant action.
<script lang="ts">

import { Vue, Component, Prop, Emit, Watch } from 'vue-property-decorator';
// import store, * as Store from '@/../src-gen/store';
import * as Data from '@/../src-gen/data';
// import * as ServerData from '@/../src-gen/server-data';
import * as Action from '@/../src-gen/action';
import SmileForm from '@/section/core/components/smile/SmileForm.vue';

@Component({
  components: { SmileForm }
})
export default class AddParticipant extends Vue {

  private addParticipantForm = new Data.Lotto.AddParticipantForm();
  private addParticipantFormDecorator = Data.Lotto.AddParticipantForm.toSmileFormDecorator();

  public addParticipant() {
    this.addParticipantForm.lotteryName = this.$route.params.lotteryName;
    Action.Lotto.AddParticipant.execute(
      this.addParticipantForm,
      output => {
        this.$router.push({name : 'Details.Summary', params : {lotteryName : this.$route.params.lotteryName}});
      }
    );
  }
}

</script>
- Write the SmileForm code inside template in
AddParticipant.vuepage.
<template>
 <v-layout>
   <v-flex>
     <v-card>
       <SmileForm
       title="Add Participant"
       v-model='addParticipantForm'
       :decorator='addParticipantFormDecorator'
       submit-text='Add Participant'
       @submit='addParticipant'
       >
       </SmileForm>
     </v-card>
   </v-flex>
 </v-layout>
</template>
- Open browser http://localhost:8080/#/lotto1/add-participant to see the AddParticipant page.
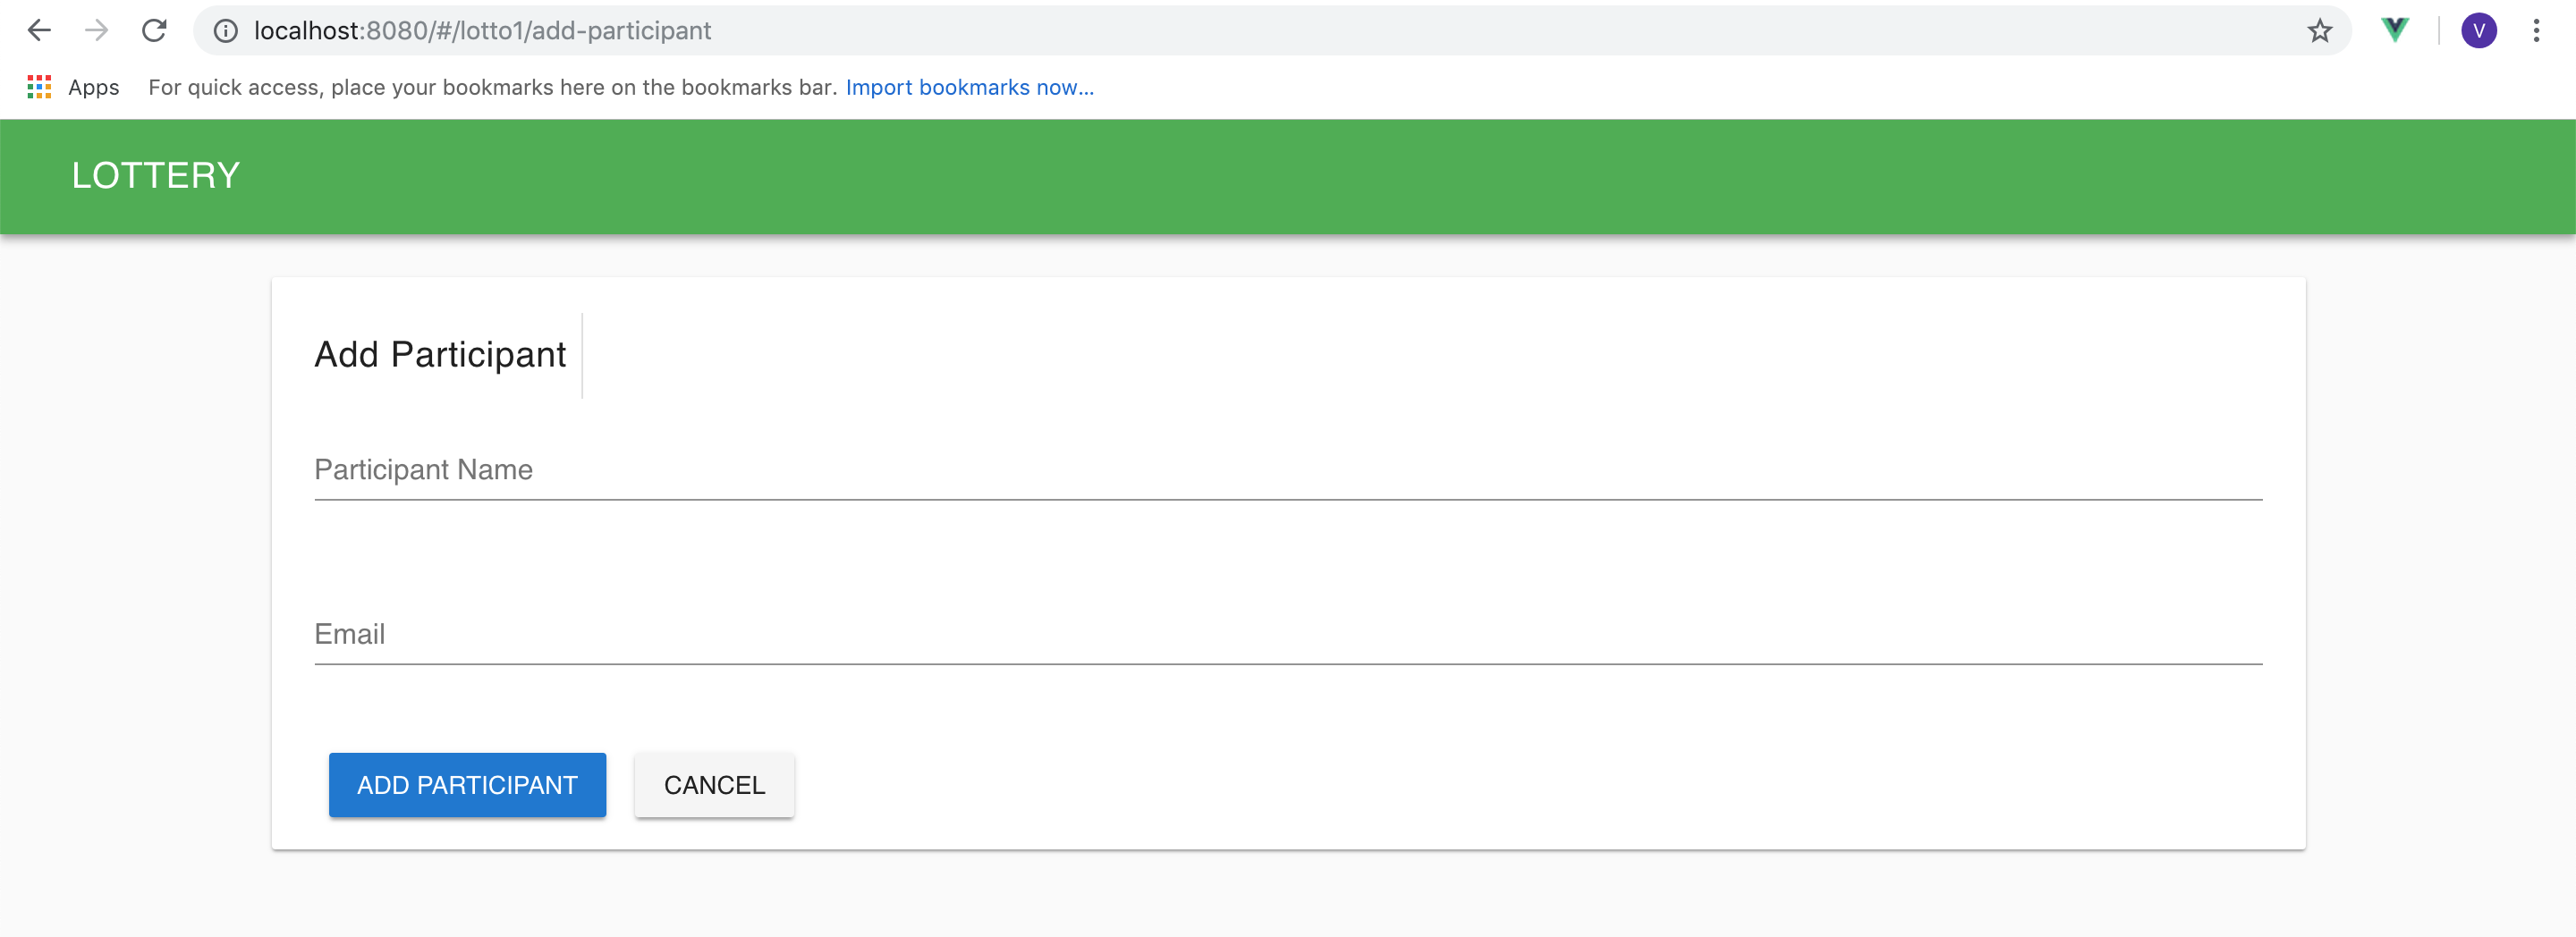
After adding participant, the page will be redirected to the details page of the lottery.
# Run Lottery
After running the lottery, the status should be "CLOSED" and winner should be displayed